How to set your perfect saddle height
Getting your saddle height dialled is important. It doesn’t just affect your comfort on the bike but the biomechanics of pedalling, helping you to ride more efficiently and potentially faster too and may eliminate some cycling aches and pains. So how do you go about finding your optimum saddle height and what’s involved in altering it?

Sports scientists who have studied the effect of saddle height on pedalling efficiency have found that there’s quite a narrow band in which cyclists pedal efficiently. If your saddle is too high, your hips will rock as you pedal; set your saddle too low and you’ll put a lot of strain on your thigh muscles and not get as much propulsion out of the effort you’re putting in. Your leg muscles will often feel sore after a ride and you’ll not get the best leverage on your pedals.
The most efficient pedalling comes when your knee joint is close to locking out at the bottom of the pedal stroke, but still a little bent. After all, we don’t walk or run in a semi-crouched position and our bodies are designed to function best when the leg muscles are fairly extended.

Our bike fitter, Nas, emphasises the importance of getting your cleats set up right first. It’s part of our bike fitting service and ensures that you’re exerting leverage optimally on the pedals. It impacts the biomechanics of the entire pedalling action and where on the saddle you end up sitting too.
For a neutral position, your cleats should be positioned so that the joint in the front of your foot is above the pedal spindle. You want them to be set up the same on both shoes and so that your feet are pointing straight forward too.
The LeMond method
Greg LeMond won the Tour de France three times, in 1986, 1989 and 1990, the first American to do so (and so far the only one, following the stripping of titles from Lance Armstrong).
As well as a superb athlete, LeMond was a great innovator. His 1989 win by 8 seconds was the closest in Tour history and came largely thanks to using aerobars, the tucked position allowing him to take back almost a minute over 24.5km on the yellow jersey wearer going into the stage, Laurent Fignon.

LeMond was also the first rider to win the Tour on a carbon fibre bike frame and an early adopter of clipless pedals, rather than using toe clips and straps. He also derived the LeMond formula to determine saddle height. It’s pretty simple: 0.883 times your inside leg measurement.
To find your inside leg length, the best bet is to stand without shoes facing a wall and push a book firmly up between your legs until it rests hard against your sit bones. Make sure the edge of the book is flat against the wall and mark the position of the top of the book on the wall with a pencil. Then just measure the height of the pencil mark off the floor. It’s worth repeating a few times to make sure that you’ve measured correctly.
Multiply that number by 0.883 to find your saddle height. You can then check this against your bike, where it’s the distance between the centre of the crank axle and the top of the saddle at its midline, following the line of the seatpost.
In a bike fit we’ll usually start with the saddle a little lower than this and evaluate your biomechanics, making small changes to see how they affect your pedalling.
Treat your seatpost with respect
If you do find that your saddle height isn’t quite right and you want to alter it, you’re going to need to move your seatpost up or down. That may not be as simple as it sounds, as many seatposts and their clamps are fussy items.
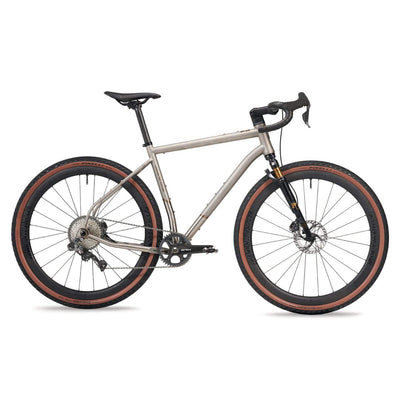
A traditional external seat clamp, as found on our steel Irons In The Fire gravel bike is fairly simple to loosen. That should free the seatpost, so that it can be moved up or down, although seatposts are prone to freezing in the seat tube. Don’t use too much force to try to get it moving: seatposts and carbon frames are delicate.

Likewise, don’t try to overtighten your seatpost clamp once you’ve made the adjustment. If you find your seatpost slipping, pull it out of the frame and apply a thin layer of carbon assembly paste to it before reinserting it. This will increase friction between the seat post and the frame and should sort the problem. It will guard against the post freezing in future too.
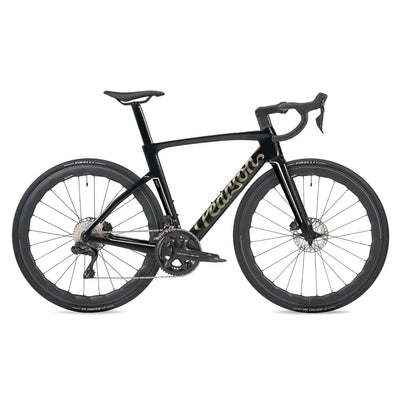
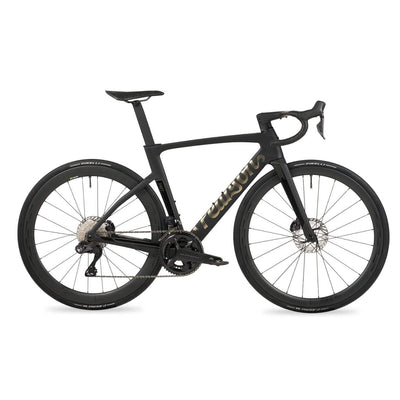
Many modern bikes, particularly aero ones, have a hidden, integrated seatpost clamp that’s often recessed into the rear end of the top tube, as it makes for a sleeker look and better aerodynamics. It’s a system that we use on many of our bikes, like the Hammer and Tongs.
Some integrated clamps can be quite fiddly and delicate, so it’s even more important to pay attention to the maximum clamping force in the bike’s instruction manual and which is usually stamped on the clamp too. You should use a torque wrench or a pre-set torque key to tighten the clamp bolt.
The low clamping force and wedge design of an integrated clamp may mean that the seatpost is even more prone to slip than a traditional one, so you should use carbon paste when reassembling the post.
Make adjustments gradually
Getting to grips with adjusting your seatpost is important, as it’s likely that you’ll need to make multiple small changes to get your saddle height at its best for you. The height set by the LeMond method might feel odd at first. If you’ve had your saddle a lot lower, you may feel a bit nervous about being perched higher on your bike, particularly if you’re riding in town and stopping and starting a lot. You may find that the different leg extension from what you’re used to gives you aches and pains too.
It’s worth sticking with it, to see how it feels after a few rides, but keep them shortish and local - don’t try to make large changes to your saddle height just before a major challenge.
If you’re still not comfortable and working efficiently on your bike, you can try moving the saddle up or down. But make sure you do it in small increments of a few millimetres at a time and again try the new position a few times before making further adjustments.

You might need to compensate too if your bike has longer or shorter than average cranks. The usual for a mid-sized bike is 172.5mm; it’s normally stamped on the cranks somewhere. If you’ve got 175mm cranks, that’s going to make your pedal stroke longer; 170mm or shorter cranks will make it shorter, so in this case you might be able to put your saddle up a further few millimetres.
Fore and aft
It’s not just saddle height that you should consider, the fore and aft position and the angle of your saddle are important too. That’s going to affect how well you’re centred on your saddle - if you’re slipping forward a lot you may have your saddle too far back. Again, it’s something that affects your comfort and efficiency when riding.
You can move the saddle on the seatpost by loosening off the clamping bolts and sliding the rails forward or backwards.
Like seatpost clamps, saddle clamps are fussy though. Many have fiddly parts, it’s easy to alter the saddle angle by accident and there’s the risk of damage from overtightening. Again, make small adjustments and take a few shorter rides to see how it feels. You may need to adjust the saddle height again too, as the change in saddle position will alter your effective leg length.

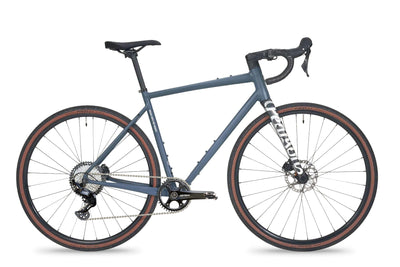
The modern trend is to position the saddle further forward on the bike. So whereas many bikes used to come with seatposts with 20mm or so setback, via a bend at their heads, you’ll now often find bikes sold with seatposts with zero setback. That’s the case with many of our bikes, like the Minegoestoeleven.
Your knee joint should be positioned above the pedal spindle when your leg is in the three o’clock position in the pedal stroke. It’s something that you can verify at home, although a bike fit will assess it more accurately. Our fitter Nas stresses that it’s not the front of the knee cap that’s important, it’s the knee joint at the rear of the knee cap.
Still not satisfied?
If you’re still not comfortable on your bike, it might be time to call in the professionals. A bike fit will cost a couple of hundred pounds or so, but will get your position on the bike properly sorted out, including bar height and width, stem length and dealing with any asymmetries like unequal leg length.
It’s a sensible move to invest in a bike fit in any case, to have a professional eye run over your position, regardless of whether you feel confident doing it yourself.
We’ve more on setting up your position in this post from our in-house bike fitter Nas, while this page explains the bike fit process and our pricing. You’ll come away with a detailed set-up which fits with your riding history and aspirations.

If you’re considering buying a bike, we can also help you choose the correct bike size and make sure that your shoes and cleats are set up correctly, with the £75 cost of the bike sizing service discounted from the price of a new bike bought from our shop.
Read how to choose the right saddle.
Read how to choose the right size road bike.
2 comments
I think you may have made a typo. The Lemond formula is to multiply your inseam by 0.883, not 0.833 as stated. A huge 4cm saddle height difference between the two ratios, 0.883 being very close to what I normally ride.
https://sportcoaching.co.nz/lemond-method-saddle-height-formula/
Excellent article. Clear, simple with all potentially confusing terminology explained. I’m reasonably proficient with bike maintenance but still found this useful, with some new info I hadn’t known.
Also couldn’t agree more on the sentiment. I used to think a few mm’s/cm’s would not make the difference. But it does!
Thanks

