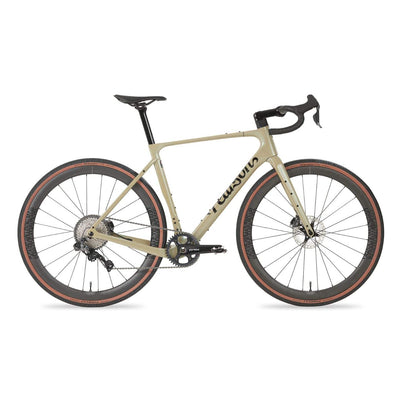
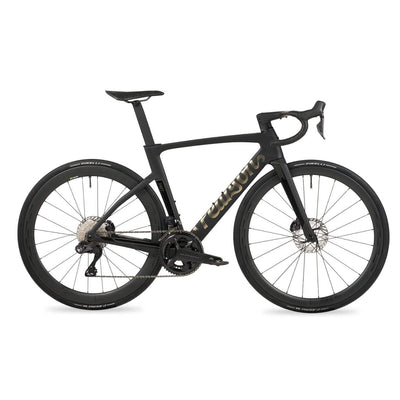
THE PERFECT BIKE SET-UP
Bike-fitting has quickly become an important aspect of cycling – and it’s not just for elite athletes. We've put together a simple 3 point guide to help you set up your bike.
By Nas Karimi, Pearson bike-fitting expert.

‘Bike-fitting’ is a process in which the set-up of your bike and equipment is carefully positioned to suit your ability and needs as a cyclist. The goal is to achieve a riding position that is comfortable, efficient and allows good control.
Ideally, a bike-fit requires a trained technician to assess, analyse and fundamentally change how you ride a bike. But in these restricted times, it is possible to set up your own bike. Generally, a set-up covers three areas, which you should follow in this order.
1. Shoes and cleats.
Having properly fitting shoes is important for comfort, but also for cleat position. Shoes vary in shape, from narrow to wide, and also from brand to brand, as sizing is often inconsistent. Make sure you have a well-fitted shoe, with just enough room for your foot to breathe but allowing your foot to be stable and fixed in place.
Cleats are often an overlooked part of your set-up. In a bike-fit, their position is critical, for comfort, performance and injury prevention. It’s easy enough to place the cleats in a central location but given the knowledge we have about where the engagement should be, the best method is to position your cleats towards the back of the shoe, interacting with the mid-foot, and to keep the alignment facing forward.

We've found that Lake offer the most 'neutral' cleat position, which is one of the reasons why we have collaborated on our range of shoes.
Foot stability is key to a good riding position and ensuring the foot is stable comes from having good quality shoes. Depending on individual foot structure, insole supports, wedges and stacks can also help.
(Note: A common mistake is to align the centre of the cleat with the ball of your foot. Better to start the cleat further back and adjust forward as needed.)
2. Saddle height, position and angle.
Achieving the correct saddle position sounds relatively simple. However, a few millimetres too high or low, or too far back or forward, and you could start to experience discomfort, inefficiency and even injury.
A basic formula is to measure your inseam, then deduct 10cm. For example, an inseam height of 84cm would result in a saddle height of 74cm. This is then applied, from the centre of the bottom bracket to the top and centre of the saddle. It’s a basic method but a good starting point. Saddle angle is something of a grey area – without a bike-fit your saddle should always begin level, from the centre to the front of the saddle.
(Note: This doesn’t take into account different pedal and shoe types, nor crank length. It also assumes all people are the same build and have the same level of flexibility.)

That pro-looking drop between your saddle and bar may not be the most comfortable or efficient position for you.
The position of the saddle fore and aft is specific to the individual rider and there isn’t one straightforward method to achieve it. A quick solution is to position the crank arms horizontally and align the back of the kneecap with the pedal axle. If your knee is notably forward of the pedal axle, move the saddle back; if it’s too far back, move the saddle forward.
Adjusting your saddle fore/aft influences the distance from the bottom bracket, resulting in more (or less) leg extension. Saddle height may need to be readjusted. When moving the saddle back it may also need lowering; moving it forward, it might require raising.
3. Handlebar reach and drop.
Handlebar reach and drop are the distance of the handlebars from the saddle, and the height between the saddle and handlebars. There’s no formula for the perfect reach and drop but a good set-up means you should be able to comfortably reach the three main grip positions – brake levers, tops, and drops of the handlebars – without having to make big adjustments to your body position.

Get a (perfect) grip.
A good approach to start is with the handlebars closer and higher, then extend out and down as your body allows. Riders who want more relaxed, endurance-style set-ups will benefit from slightly more height and less reach; riders who want racier, performance set-ups will prefer a lower, longer set-up. All riders should be able to relax their shoulders and elbows and not put excessive pressure on the hands or wrists.
Note* Handlebar widths, shape, and lever reach can dramatically transform your ability to control the three grip positions. A basic measurement to determine handlebar width is reaching your arms straight forward and measuring your shoulders from their front/centre.

All Pearson bikes come with optimal bar and stem sizes to suit each rider.
Our bodies are different but also adaptable and any changes to your position will take some adjusting to, so initial discomfort or pain does not always mean a bad set-up. If you make a slight adjustment, give it a few rides before needing to re adjust. Ultimately, you should be able to ride your bike on a regular basis, near or far and feel great, aside from some muscle soreness or occasional stiffness.

If you would like a professional fitting session with Nas, please click here >
2 comments
It was truly illuminating when you mentioned that having a saddle position that is a few millimeters too high or low can end in discomfort, inefficiency, and even injuries from accidents if you’re not careful. I want to get back in shape, so I was thinking of trying out cycling again as exercise. I’ll have to get a bike fitting soon to adjust to my current height. https://plan7coaching.com/bikefit/


